Shoot Your Movie
Image Quality
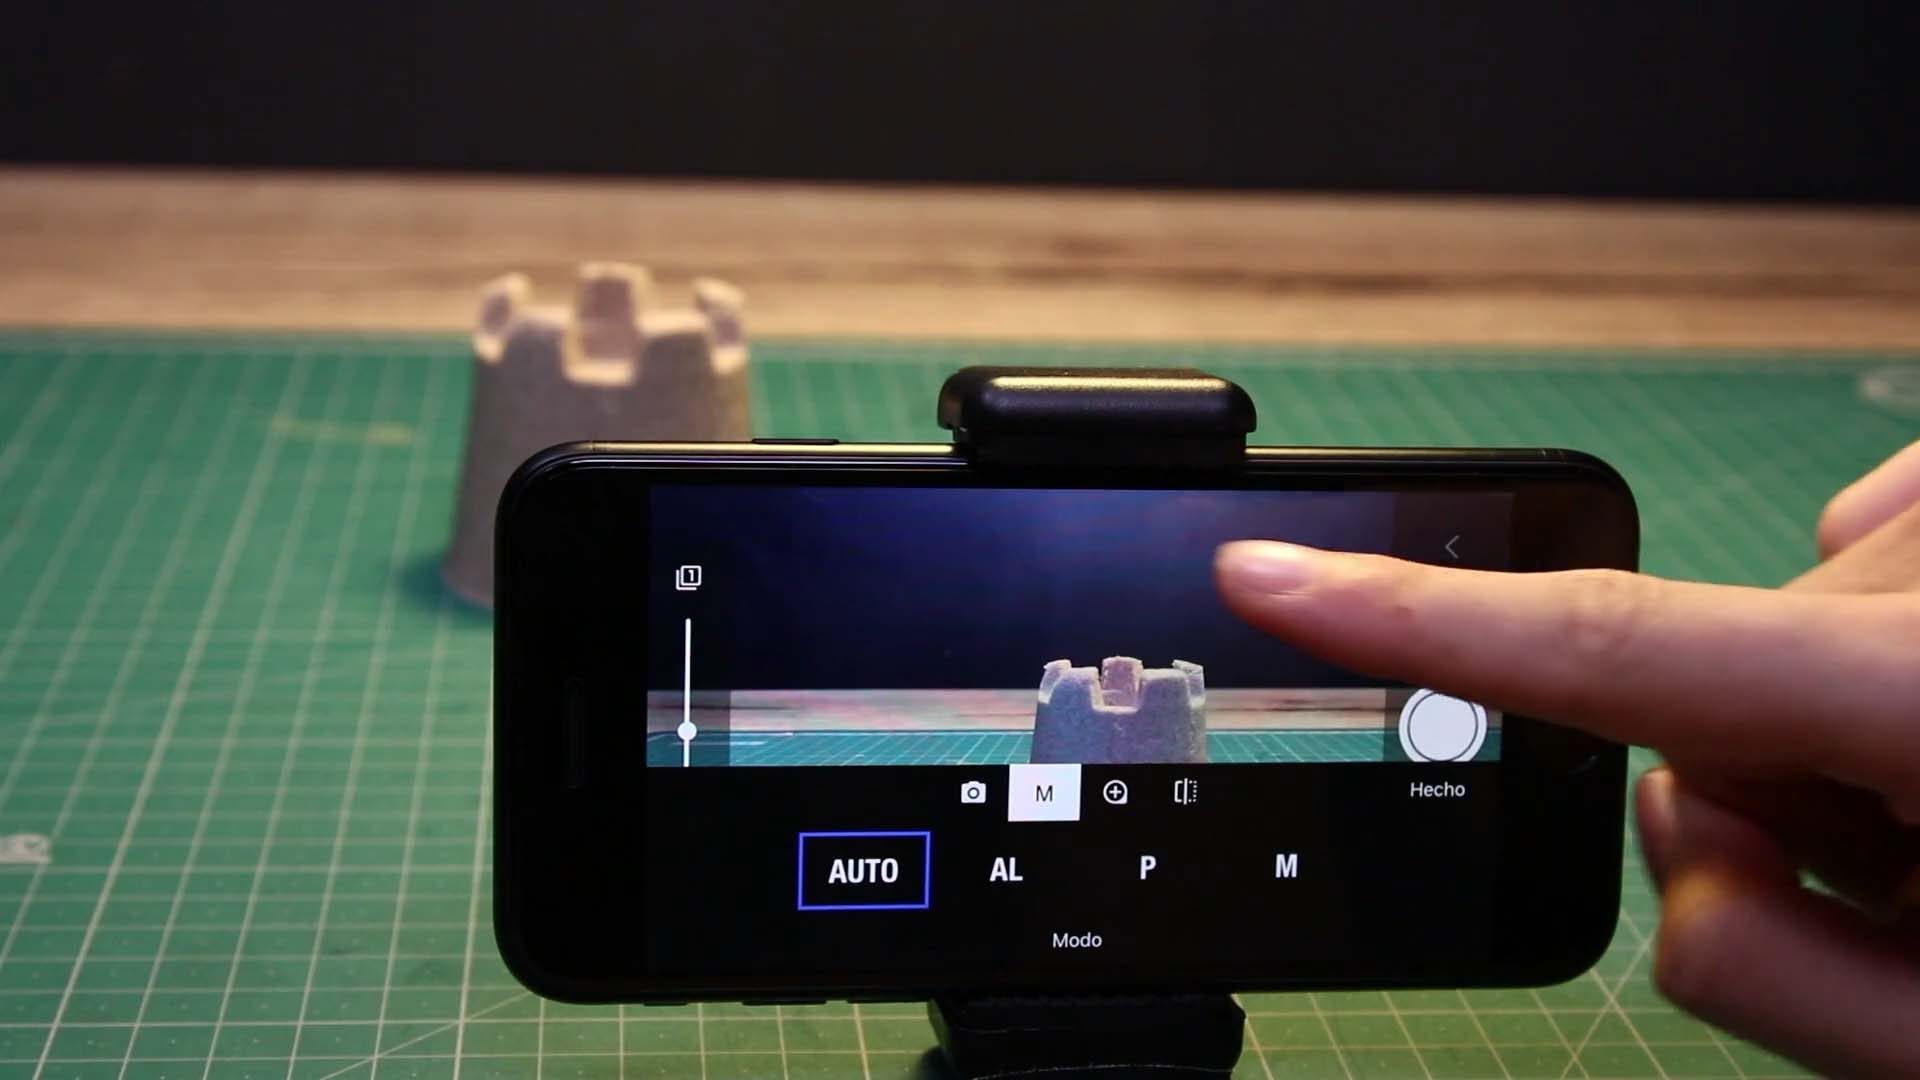
In Stop Motion Studio, you have the flexibility to adjust the picture quality with resolutions up to 4K UHD. However, choosing the right quality involves a trade-off between storage space and picture quality. Higher resolutions, such as 4K, offer superior image quality but significantly increase project size.
How to Adjust Image Quality:
Access Project Settings: While in the movie editor, use the Project Settings button
.
- Select Quality Option:
- SD: Choose this option to save space on your device by lowering the quality and resolution of captured images.
- HD: Opt for regular HD quality.
- HQ: Select high-quality HD, which increases project size.
- 4K: Choose Ultra High Definition with four times the resolution of Full HD for the best quality, but note that it significantly increases project size.
- 4K+: Select this option to store the original camera image in addition to the 4K UHD image.
Apply Changes: Press Done to close the project settings.
Changing the image quality setting will not affect images that have already been captured, ensuring flexibility in adjusting settings without impacting existing content.
—
Depending on your device’s camera hardware, 4K or 4K+ may not be available.