Edit an Image
Removing Objects from Frames
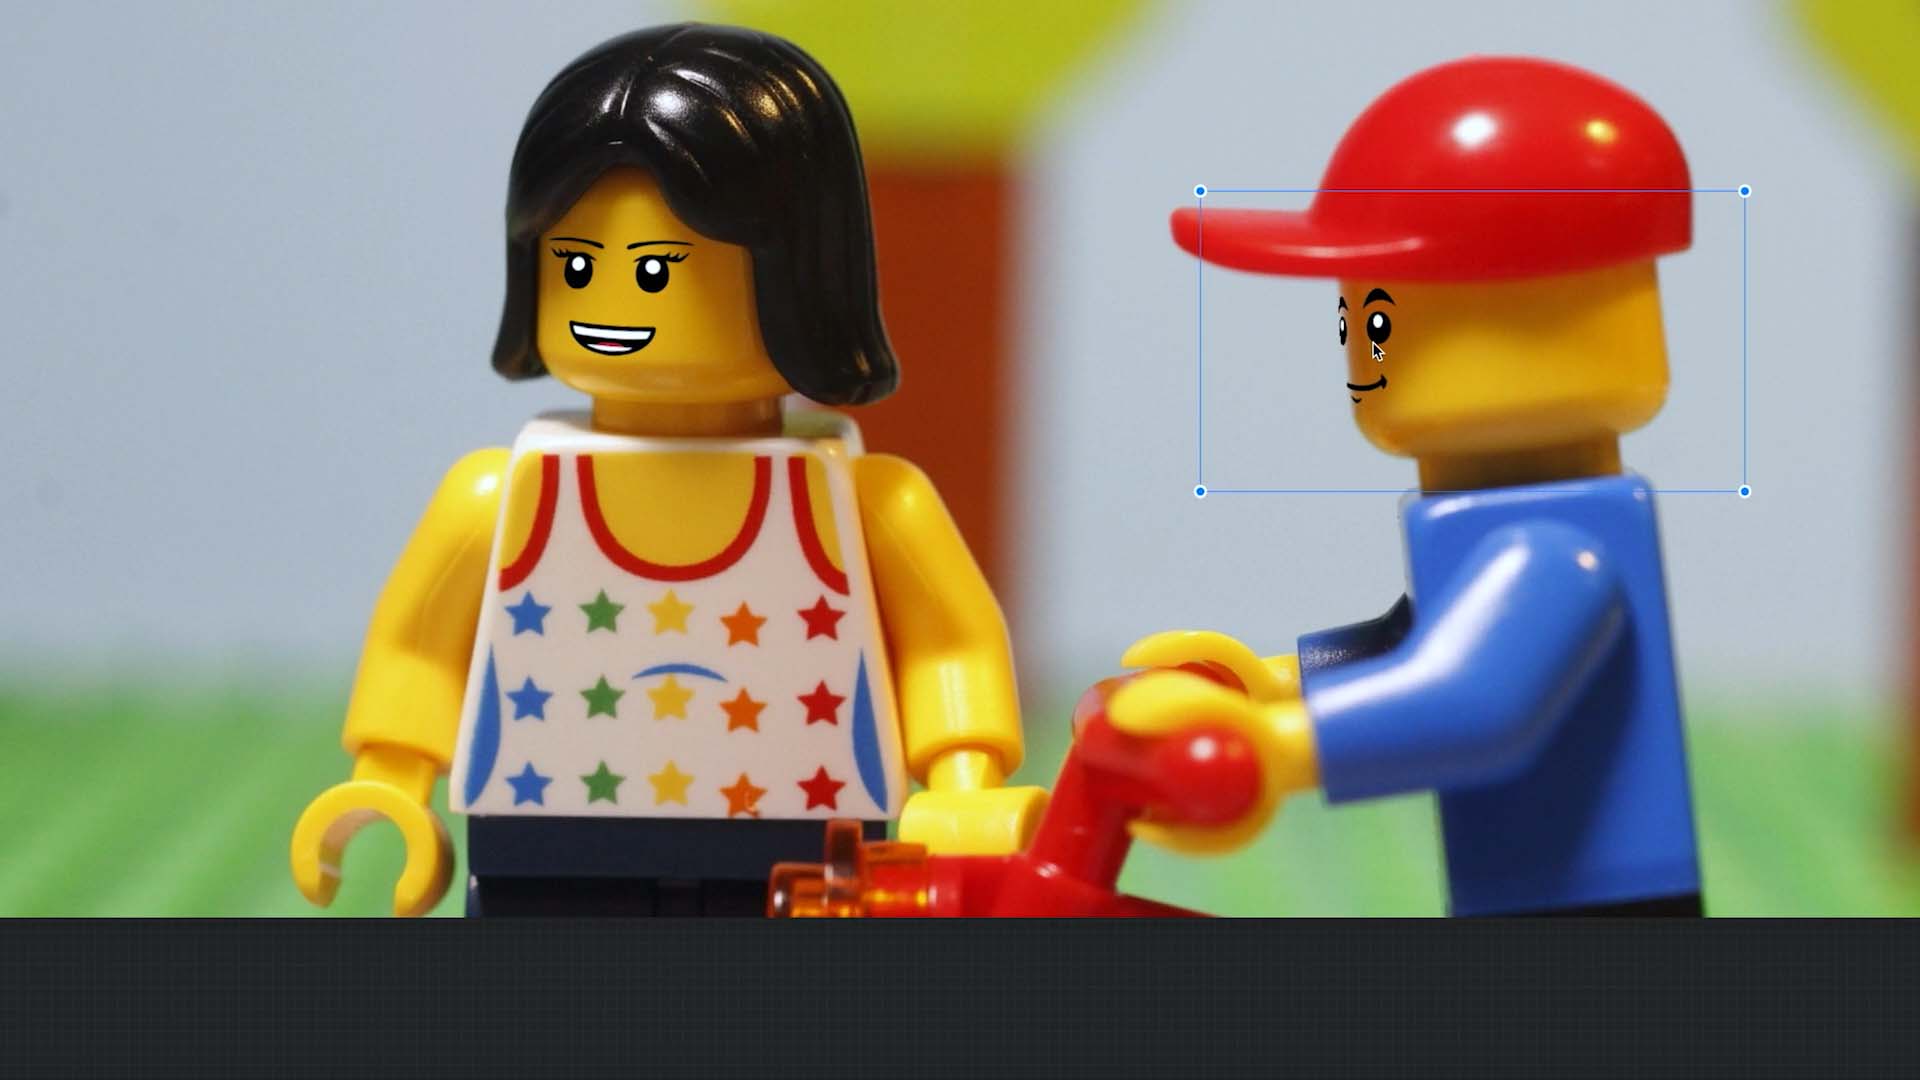
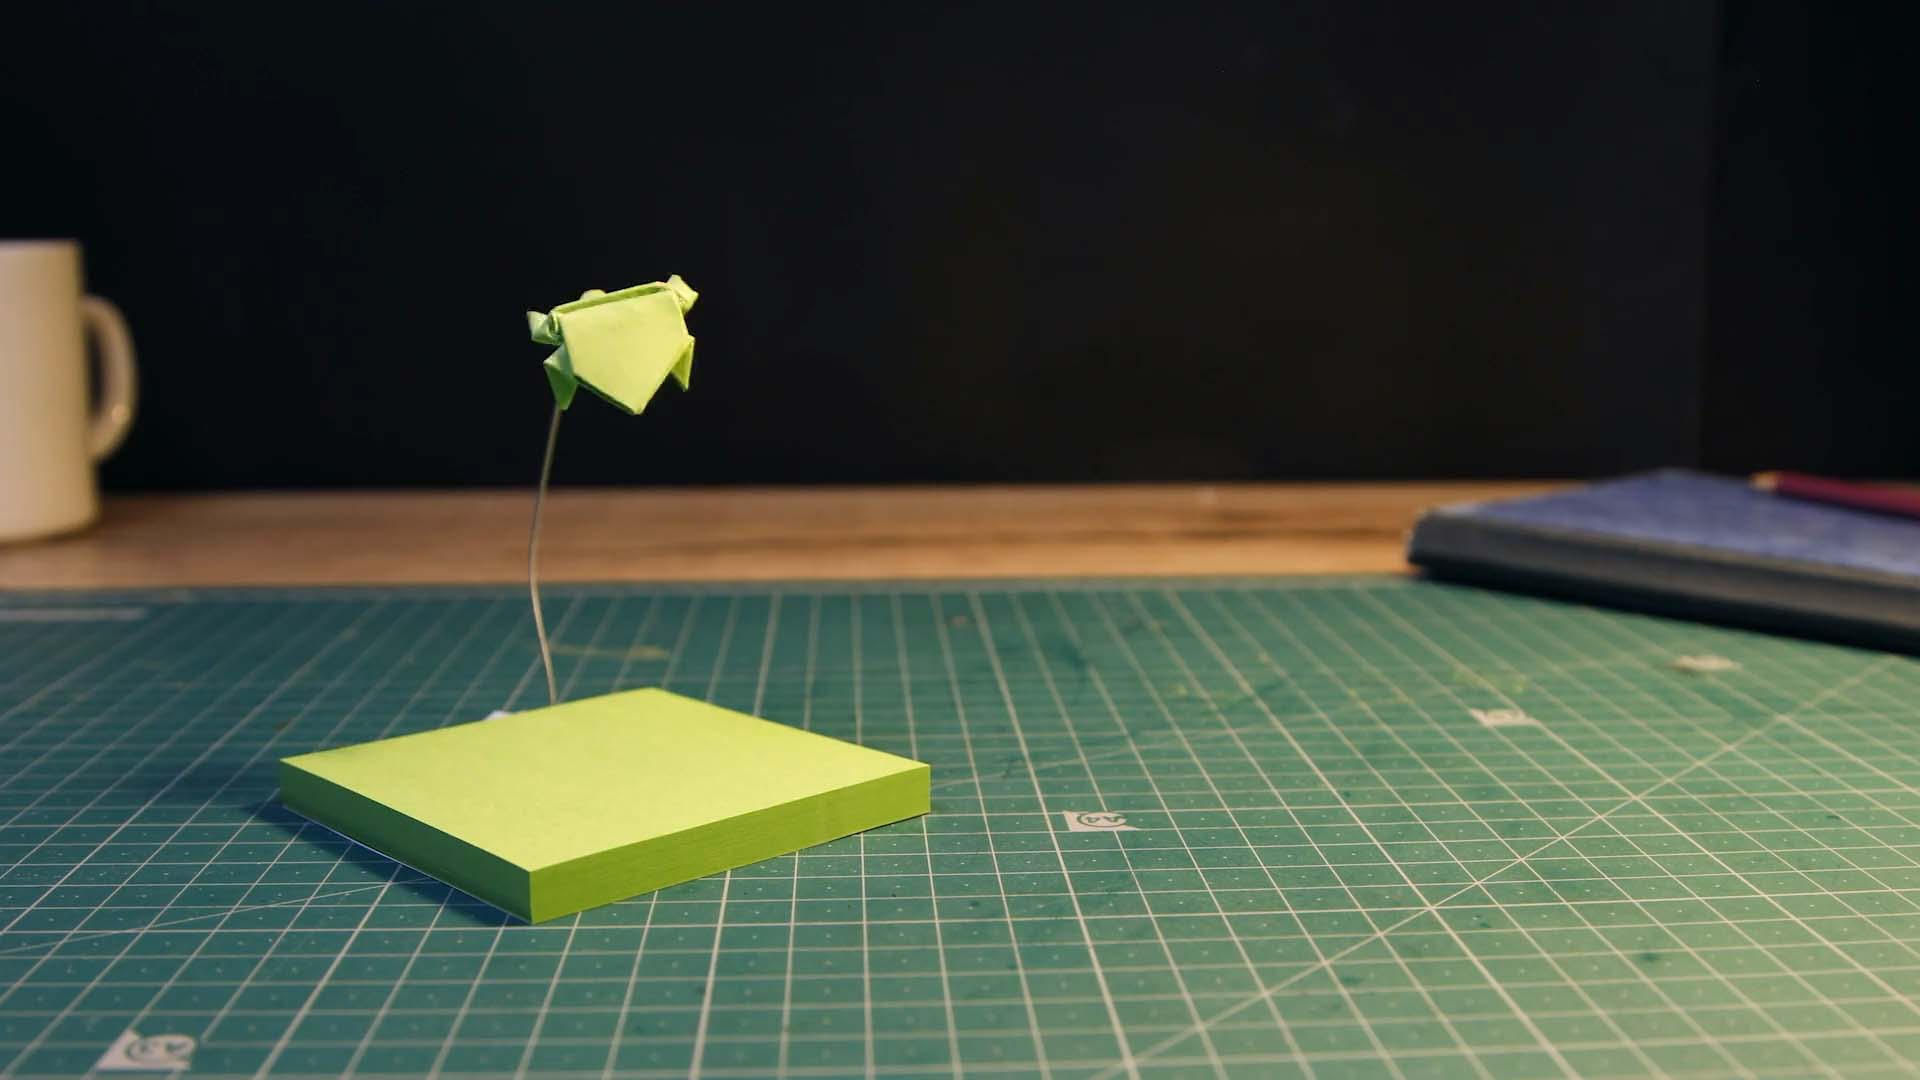
Sometimes, to achieve certain effects like making a character appear to fly or jump, you need to attach objects like strings or rigs to them. These objects serve as support during the filming process. However, they shouldn’t be visible in the final animation. That’s where tools like the eraser or masking tool come in handy. They allow you to seamlessly remove these supporting elements, ensuring your animation looks polished and professional.
Here’s how it typically works:
Capture a Clean Frame: Before adding any objects or elements to the scene, capture a frame that serves as the “clean” or reference frame. This frame should depict the background without any additional props, strings, or unwanted objects.
Overlay the Clean Frame: When you’re ready to remove objects from subsequent frames, overlay the clean frame onto the frame containing the unwanted object. This helps ensure that you’re erasing the object while preserving the original background.
Use Eraser or Masking Tool: With the clean frame overlaid, use eraser or masking tool to remove the unwanted object. By referencing the clean frame, you can accurately erase the object while retaining the original background details. While in the movie editor, select the frame you want to edit and open the frame edit menu and select Erase
.
Use Clean Frame: Press the square symbol to select a clean frame. If you don’t select a clean frame the previous image will be used as a clean frame.
Conceal and Reveal: These brushes allow you to either hide (Conceal) or reveal (Reveal) parts of the image.
Fine-Tune as Needed: After erasing the object, fine-tune the image as needed to ensure seamless blending with the surrounding background. This may involve adjusting brush sizes to refine the results. You can zoom in and out of the image at any time for better control of the erase process.
TIP: You can undo and redo
at any time in case you made a mistake.