Edit an Image
Using the Image Editor
In the Stop Motion Studio Image Editor, you can enhance your frame images by drawing directly onto them or adding text, shapes, and backgrounds. Additionally, you can crop, flip, or rotate the frame images. The Image Editor offers these features and more, providing a versatile toolset for fine-tuning your animations.
- While in the movie editor, select the frame you want to edit and open the frame edit menu.
- Select Edit
to edit the image.
- Press the back arrow
when done to return to the movie editor.
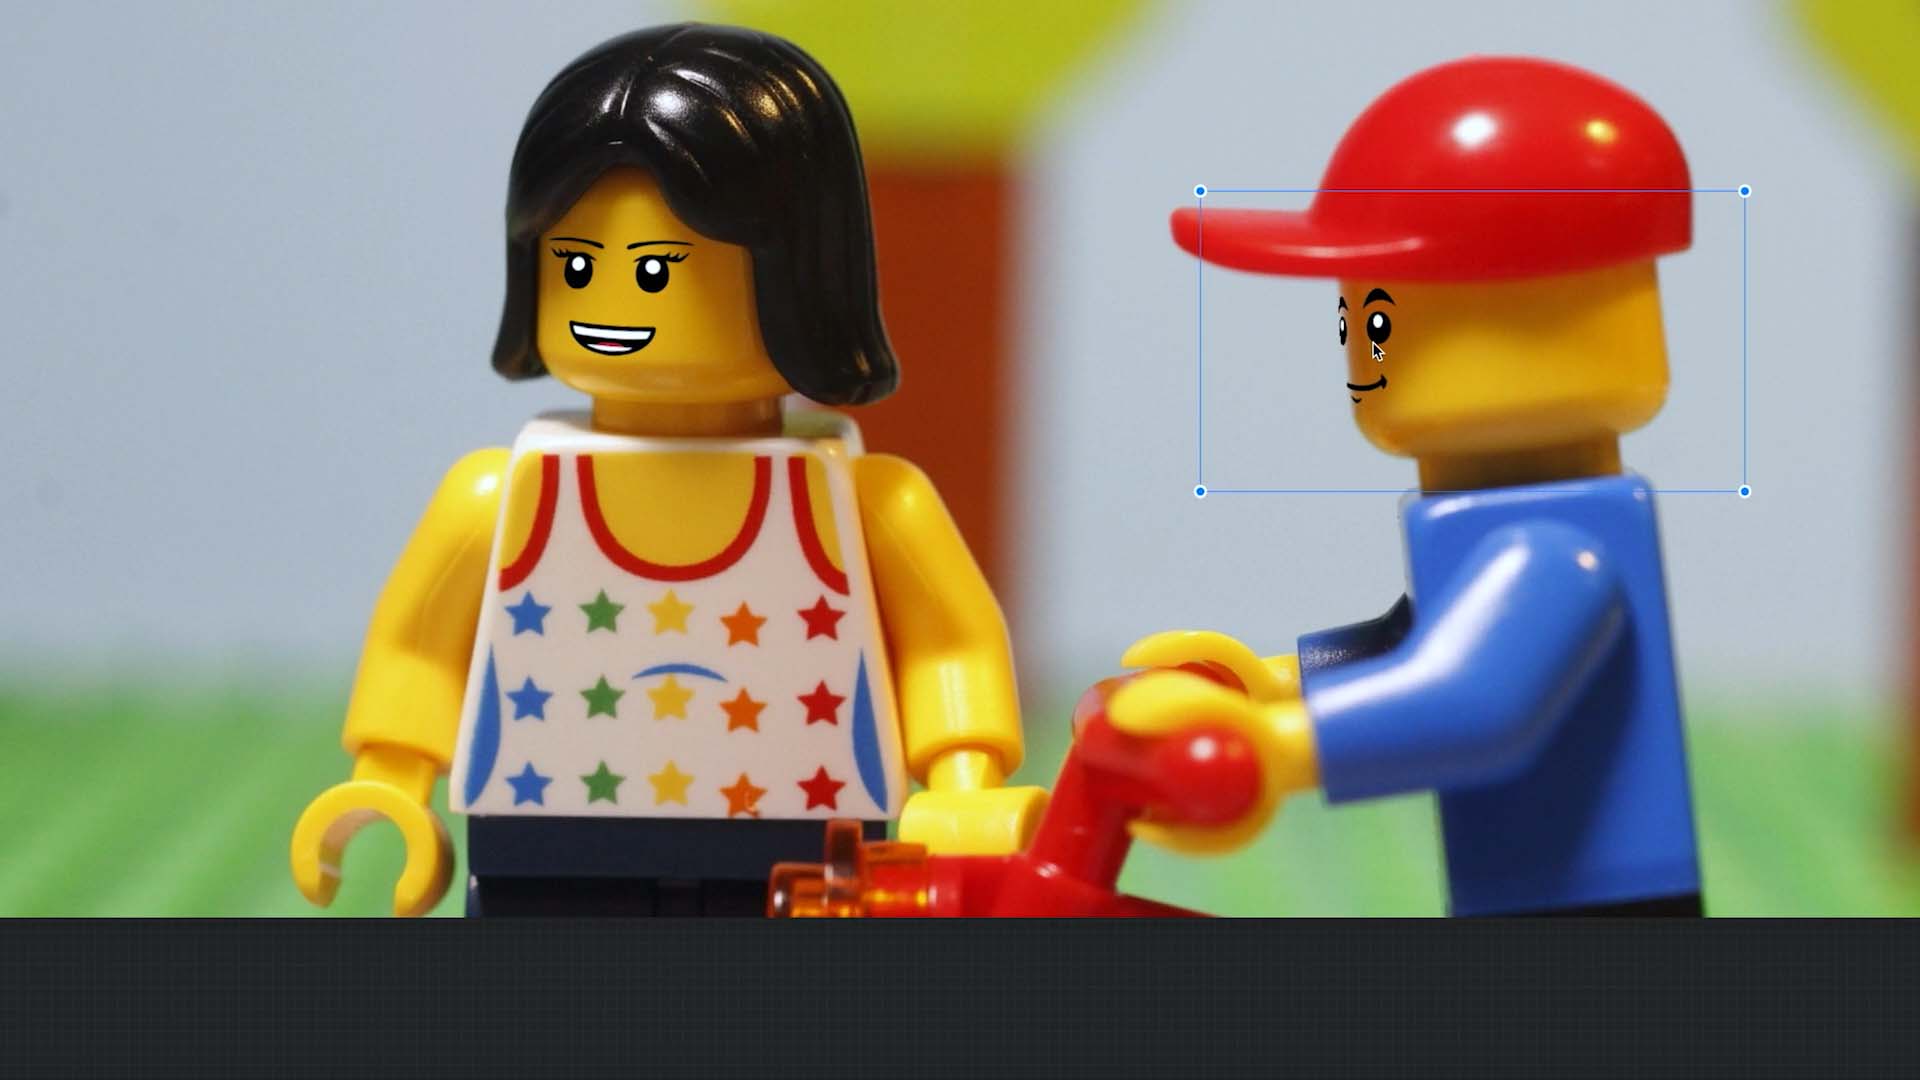
When opening the image editor you will see all the tools on the navigation bar, the overlay controls on your left and the layer overview on your right. The overlay controls allow you to change the opaque to the previous frame. This will help you to create a continuous animation. The layer overview shows you all the layers you have in your image.
The image editor allows you to zoom in and out of the image at any time. Zooming in lets you see the image in more detail and may make it easier to make changes. Zooming out, lets you see more of the image at once. Use the following gestures:
Mobile:
- Pinch with two fingers to zoom in or out. Pinch closed to zoom out, or pinch open to zoom in.
- Drag two fingers in any directions to pan around the image.
- In case you lost your way, simply double tap with two fingers to reset pan and zoom. Double tap with two fingers again to zoom back to the previous position.
On Android, tap the zoom symbol first to switch to zoom mode.
Desktop:
- Click
symbol to switch to zoom and pan mode.
- Click and hold to pan around the image.
- Use a right click to open the view menu to change the zoom level.
- Click
symbol to switch back to edit mode.
TIP: You can use a swipe gesture to swipe the overlay controls and the layer overview out of the screen. This will give you some more room to edit the image.